
Adding users & assigning Job Descriptions
Video guide
To see the people you’re supervising, move to the Teams tab.
This will be blank to start with, and this is where you should now add colleagues who want to start completing their competencies and building up their Competency Passport.
.png)
Tap
+ Add New Person
You may need to give the app permission to use your camera:
.png)
and then you’re ready to scan the QR code of the person joining.
.png)
If the person joining needs help, they should see Joining an organisation as reference.
Scanning your supervisee’s code should bring up their profile.
.png)
The first thing you’ll see is the choice to assign their permissions level and add them to your organisation.
See Access levels in Compassly for more details on these approval levels
Set the appropriate level for their role, and then you can tap
Approve
to add them to your organisation.
You’ll rarely need to reject a users, but may do if they have joined with an email address not in line with your organisation’s requirements.
Assigning the competencies through a Job Description
Once you’ve added the user, you’ll be asked if you want to assign a Job Description
.png)
This is how Compassly assigns and sets up Competencies and Competency Passports. Tap
+ Add Job Description
This will then prompt you to select the relevant Location, Service and Role for this person:

💡 Shown are the default locations, services and roles. Depending on your organisation, you may see other options.
💡 If you would like to change any of the names of these locations, roles or services please let us know. We can set these up as needed for your organisation, and they can be useful for filtering reports (e.g. if you operate across multiple wards or hospitals). We can even include uniform icons for each role if you like!
This may seem over-complicated for setting up the passport, but it is important in making sure Compassly assigns the right competencies to each person.
If your organisation is using several competencies on Compassly (for example, the BOPA Verification Passport as well as the UKONS SACT passport) then this approach ensures you get each specific competency setup correctly.
If your organisation is using Compassly for managing its own competencies, you will also see similar packages from your organisation, which will appear separate to external competency packages (e.g., like BOPA or UKONS passports).
💡 If you would like to know more about how Compassly works for managing competencies within an organisation, please let us know.
After you complete these selections, you will see an overview of the relevant competency package, and where it originated from:
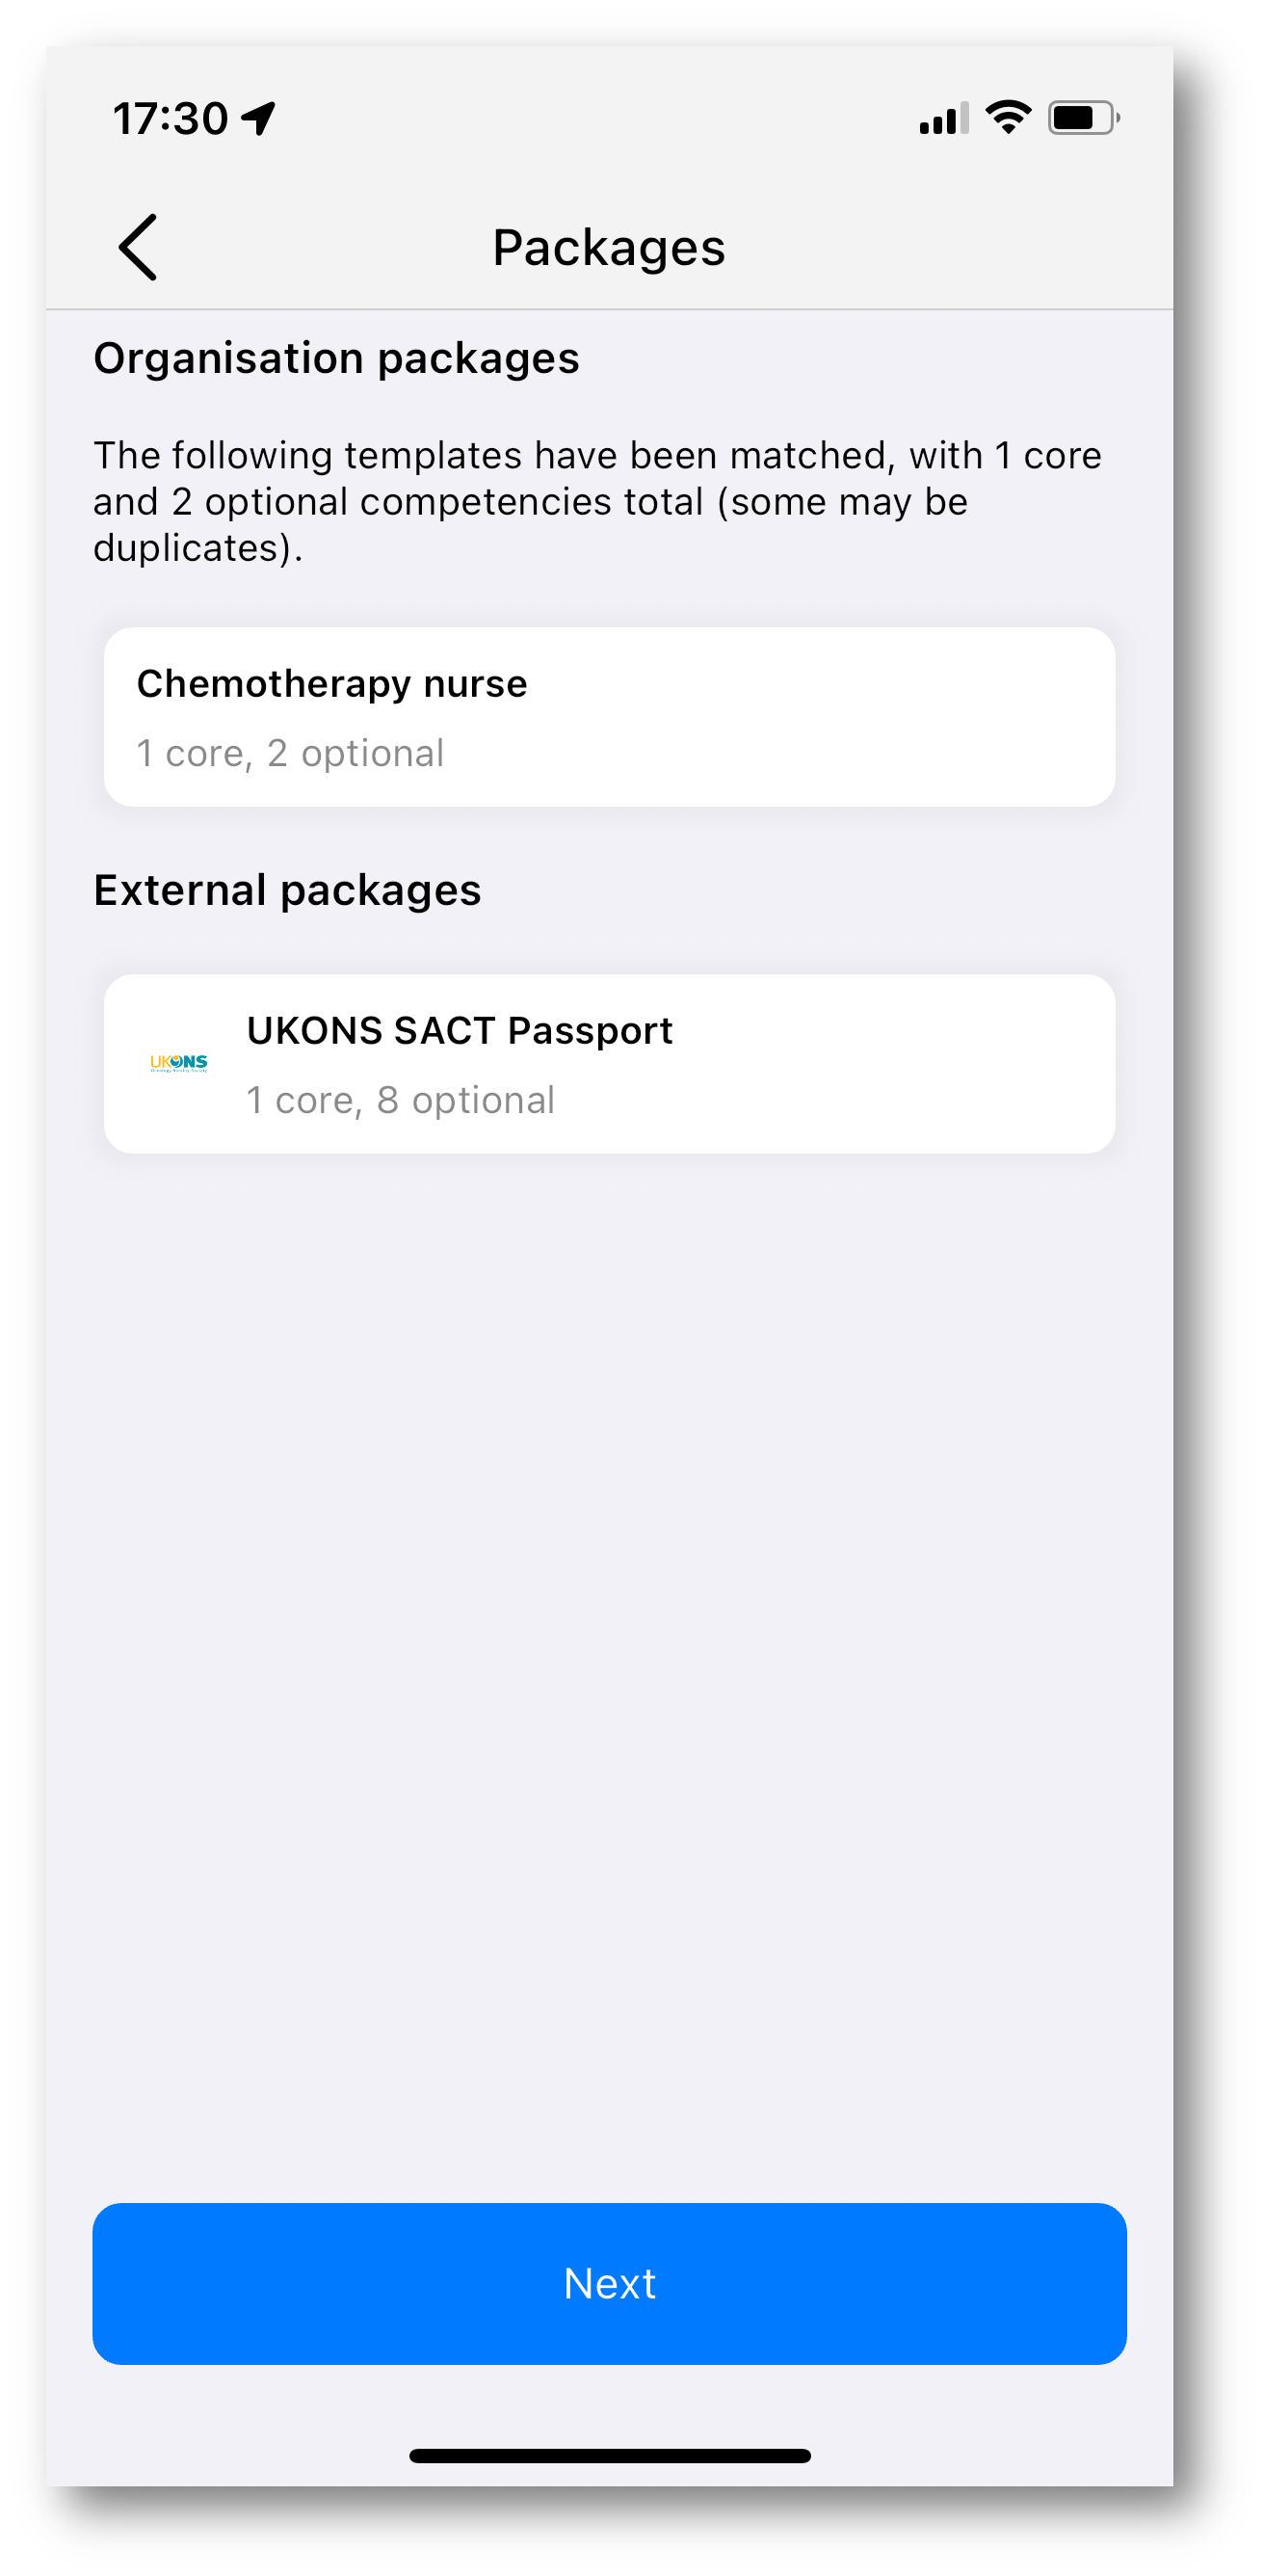
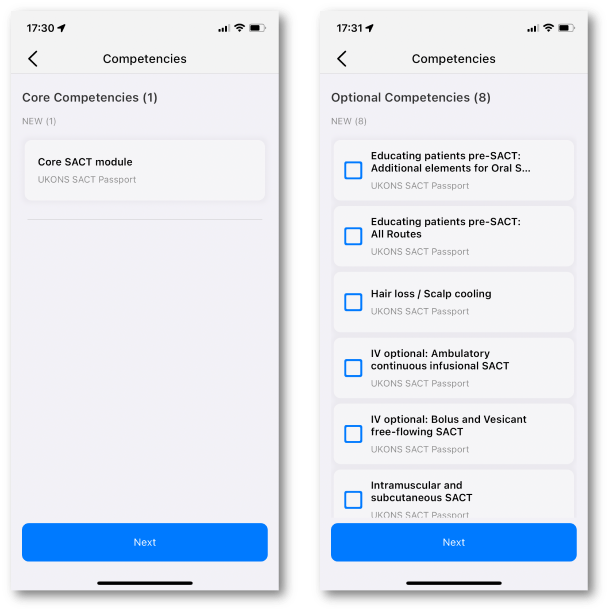
In Compassly, each module / part of the Competency passport is referred to as a Competency. Some competencies can have sections that are either Core (mandatory) or Optional.
For example, the below competency package has a Core component, and then 11 Optional competencies that you can choose from. Not all competencies will have both Core and Optional parts - this depends on the competency package and the competency author.
You can also add notes under “Specific Description”, such as make a note of why you’ve selected specific optional competencies, which is then kept as part of the reference for this Job Description.
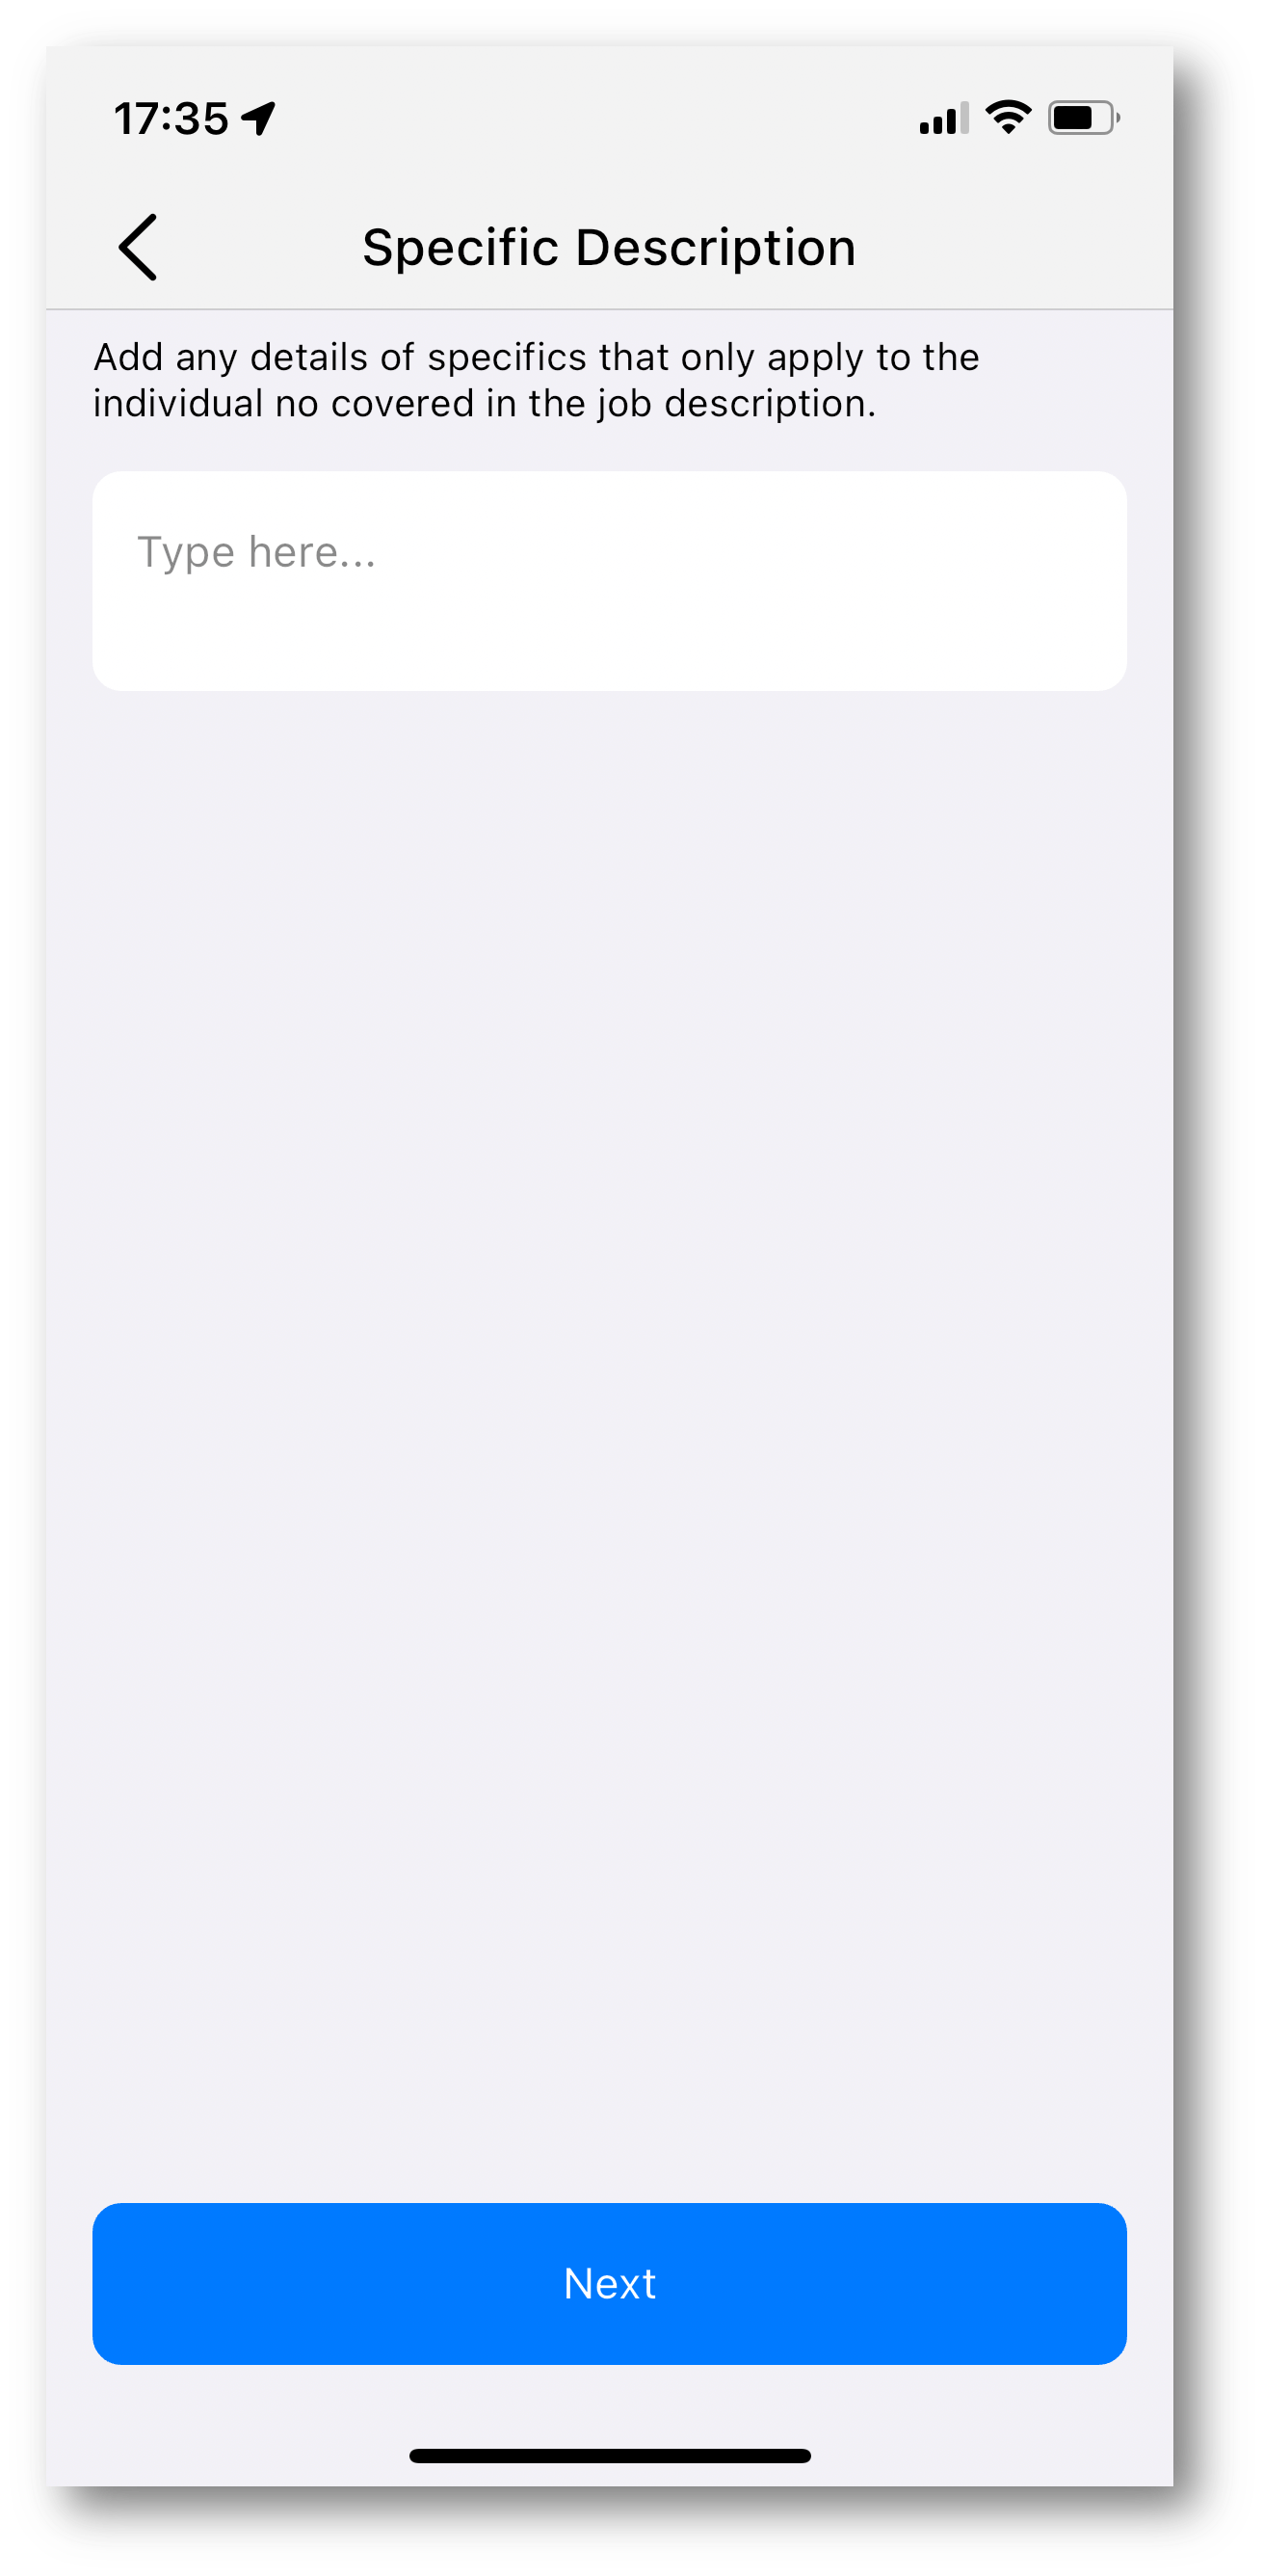
💡 You can change the selection of Optional Competencies later if needed – see Changing competencies for an existing supervisee
You will then see a summary of your selection and be ready to go!
Tap
Assign
to complete the process and set the person up with their passport;
and
Continue
once this is confirmed.


